
Installing Geotextile Fabric Properly: Step-by-Step Guide
How to Properly Install Geotextile Fabric for Best Results
Key Takeaways
| Installation Step | Key Point | Common Mistake to Avoid |
|---|---|---|
| Site Preparation | Clear debris and level the ground | Skipping proper soil compaction |
| Material Selection | Choose fabric weight based on application | Using wrong fabric type for project |
| Layout Planning | Mark boundaries and measure twice | Poor overlap calculations |
| Fabric Placement | Maintain proper tension without stretching | Over-tensioning the material |
| Securing Methods | Use appropriate fasteners for soil type | Insufficient anchoring points |
| Seam Overlap | Ensure 6-12 inch overlaps minimum | Inadequate seam coverage |
| Quality Control | Inspect for tears before covering | Missing damage during installation |
| Final Protection | Cover immediately after installation | Leaving fabric exposed too long |
Outline
- Essential Tools and Materials for Geotextile Installation
- Required equipment checklist
- Fabric selection criteria
- Safety gear requirements
- Site Preparation and Ground Assessment
- Soil evaluation techniques
- Clearing and grading procedures
- Drainage considerations
- Measuring and Planning Your Geotextile Layout
- Calculating fabric requirements
- Marking installation boundaries
- Planning seam locations
- Step-by-Step Installation Process
- Unrolling and positioning techniques
- Proper handling methods
- Avoiding common placement errors
- Securing and Anchoring Geotextile Fabric
- Fastener selection guide
- Spacing requirements
- Edge treatment methods
- Seaming and Overlap Techniques
- Joining fabric sections
- Overlap specifications
- Seam integrity testing
- Quality Control and Inspection Methods
- Pre-installation checks
- Installation verification
- Post-installation assessment
- Maintenance and Long-term Performance
- Monitoring procedures
- Repair techniques
- Performance indicators
Essential Tools and Materials for Geotextile Installation
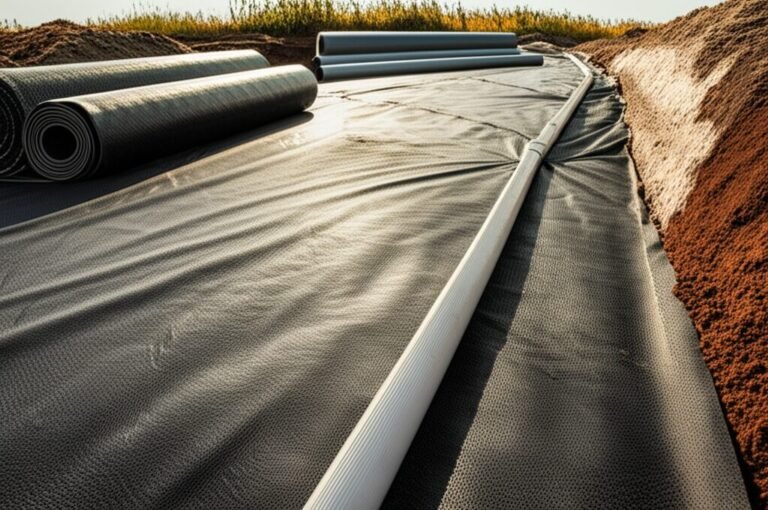
Installing geotextile fabric correctly starts with having the right tools on hand. You’ll need a utility knife with sharp blades, measuring tape, spray paint for marking, and stakes or pins for securing the fabric. Don’t forget safety equipment like gloves and knee pads – your hands will thank you after hours of handling rough fabric.
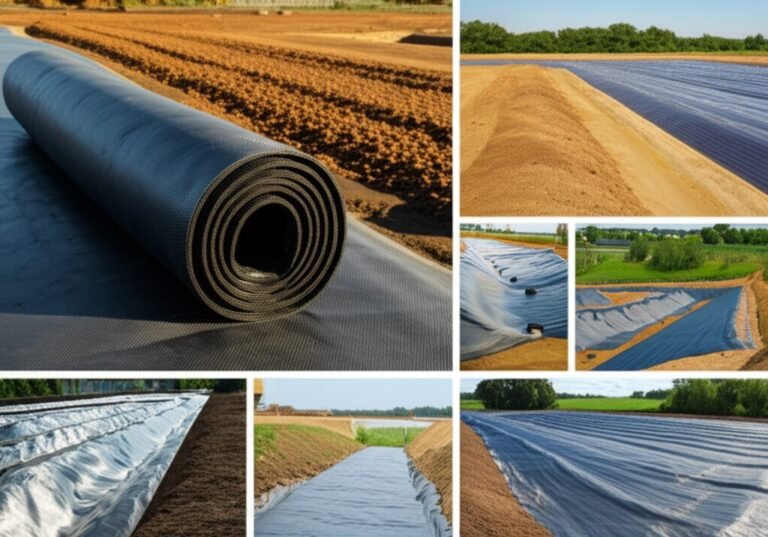
The fabric itself comes in different weights and types. Woven geotextiles work best for load-bearing applications like driveways, while non-woven varieties excel at filtration and drainage. I’ve seen too many projects fail because someone picked the wrong fabric type, thinking all geotextiles are the same.

Weight matters more than most people realize. Light fabrics (3-4 oz) suit landscaping projects, medium weights (6-8 oz) handle most residential applications, and heavy fabrics (10+ oz) tackle serious construction work. I always tell clients to go slightly heavier than they think they need – it’s cheaper than redoing the job.
Consider the soil conditions too. Clay soils need fabrics with good drainage properties, while sandy soils require fabrics that prevent particle migration. Advanced Filtration Geotextile Mattress Systems offer specialized solutions for complex drainage scenarios.
Temperature affects installation timing. Cold weather makes fabric brittle and harder to handle, while extreme heat can cause expansion issues. Plan your installation for moderate weather conditions when possible.
Site Preparation and Ground Assessment
Ground prep makes or breaks your geotextile installation. Start by removing all vegetation, rocks, and debris from the area. I’ve pulled out everything from tree roots to old concrete chunks that would’ve punctured the fabric later.
Test your soil drainage by digging a small hole and filling it with water. If water sits for hours, you’ll need additional drainage measures before installing the fabric. Poor drainage causes hydrostatic pressure that can lift and damage your installation.
Grade the surface to create proper slopes for water runoff. A minimum 2% slope prevents water pooling, which can cause fabric degradation over time. Use a string line and level to check your grades – eyeballing it rarely works.
Compact loose soil areas with a plate compactor or hand tamper. Soft spots create uneven settling that stresses the fabric and can cause tears. Pay special attention to areas where you’ve removed large rocks or roots.
Mark underground utilities before digging. Nothing ruins a project faster than hitting a gas line or fiber optic cable. Most areas offer free utility marking services – use them.
Check for existing drainage tiles or pipes that might affect your installation. Vegetation Geotextile Mattress Systems for Slope Stability can integrate with these systems effectively.
Measuring and Planning Your Geotextile Layout
Accurate measurements save money and prevent headaches. Measure your area twice, then add 10% for waste and overlaps. Geotextile comes in standard widths, so plan your layout to minimize seams and waste.
Create a simple sketch showing fabric placement, overlap locations, and seam positions. This helps you visualize the installation and catches potential problems before you start cutting fabric.
Calculate overlap requirements carefully. Standard practice calls for 6-inch overlaps on flat surfaces and 12-inch overlaps on slopes. These aren’t suggestions – they’re requirements for proper performance.
Plan your fabric orientation based on the primary stress direction. For driveways, run the fabric length parallel to traffic flow. For slopes, orient fabric to handle the expected water flow patterns.
Consider access points and material delivery. Geotextile rolls are heavy and awkward to move. Plan how you’ll get materials to each installation area without damaging completed sections.
Mark your layout on the ground with spray paint. Include overlap zones, seam locations, and any obstacles like trees or utility boxes. This ground-level blueprint guides your installation and helps identify potential issues.
Raised-Pattern Geotextile Mattress Systems Cut Costs 40% can reduce material needs through improved efficiency in certain applications.
Step-by-Step Installation Process
Start installation from the lowest point and work uphill. This prevents water from running under fabric edges and causing uplift problems. Position your first roll carefully – it sets the pattern for everything that follows.
Unroll fabric gradually, maintaining slight tension without stretching. Stretched fabric contracts later, creating gaps and stress points. Let the fabric follow ground contours naturally rather than forcing it flat.
Keep fabric surfaces clean during installation. Walk on completed sections minimally, and remove dirt or debris immediately. Contaminated fabric bonds poorly at seams and may not perform as designed.
Avoid dragging fabric across rough surfaces. Lift and place rather than pull. Sharp objects, rough concrete, or jagged stones can create invisible damage that leads to failure later.
Work in sections, completing and securing each area before moving to the next. This prevents wind damage and keeps installation organized. I’ve seen entire projects ruined by wind lifting unsecured fabric.
Handle fabric edges with care. Frayed or damaged edges don’t overlap properly and create weak points in your installation. Trim damaged edges with a sharp utility knife before proceeding.
Check fabric alignment frequently using your ground markings. Small alignment errors compound quickly and can throw off your entire layout. Make corrections early rather than trying to fix problems later.
Securing and Anchoring Geotextile Fabric
Choose fasteners based on your soil type and application. Steel pins work well in most soils, while plastic pins suit corrosive environments. Pin length should be at least 6 inches, with 8-12 inches better for loose soils.
Space fasteners according to fabric manufacturer recommendations. Typical spacing ranges from 3-5 feet on flat surfaces to 2-3 feet on slopes. Don’t skimp on fasteners – they’re cheap insurance against fabric movement.
Drive pins flush with fabric surface or slightly below. Raised pins create stress points and can puncture overlying materials. Use a hammer or pneumatic gun for consistent installation depth.
Secure fabric edges first, then work toward the center. This prevents wrinkles and maintains proper tension throughout the installation. Pay special attention to corners and curves where fabric stress concentrates.
Use additional fasteners at seam overlaps. Double the normal pin density at these critical areas to ensure seam integrity under stress. Seam failures are the most common installation problem I encounter.
Consider temporary fasteners during installation. These help position fabric before permanent securing and can be removed or left in place depending on the application.
Transform Terrains with Durable Geotextile Mattresses offers specialized fastening systems for challenging installations.
Seaming and Overlap Techniques
Overlap adjacent fabric pieces by at least 6 inches on flat surfaces and 12 inches on slopes. Insufficient overlap creates weak points that can separate under stress. More overlap is always better than less.
Position seams perpendicular to the primary stress direction when possible. This distributes loads more effectively and reduces seam failure risk. Avoid placing seams in high-stress areas like wheel tracks or concentrated load points.
Ensure upper fabric pieces overlap lower pieces in the direction of water flow. This shingle effect prevents water infiltration under fabric edges and maintains drainage effectiveness.
Clean overlap areas of dirt and debris before joining. Contaminated seams don’t bond properly and may separate under stress. Use a brush or compressed air to clean surfaces thoroughly.
Consider seam sealing for critical applications. Adhesive tapes or thermal welding create stronger, more durable seams than simple overlaps. These methods cost more but provide superior performance in demanding conditions.
Test seam strength before covering with fill material. Gently pull on overlapped sections to verify adequate bonding and pin placement. Fix any weak areas immediately.
Document seam locations for future reference. Take photos showing overlap positions and fastener locations. This information helps with maintenance and repairs later.
Quality Control and Inspection Methods
Inspect fabric for damage before installation begins. Look for tears, holes, weak spots, or manufacturing defects. Don’t install damaged fabric – it will fail and cost more to repair than replace.
Check installation progress regularly against your plan. Verify overlap distances, pin spacing, and fabric alignment at each stage. Small problems caught early are easier and cheaper to fix.

Test fabric tension by walking on installed sections. Properly installed fabric should feel firm and stable without excessive give or bounce. Loose areas indicate inadequate fastening or ground preparation problems.
Verify drainage function before covering fabric. Pour water on installed sections and observe flow patterns. Water should drain away quickly without pooling or running under fabric edges.
Document installation details with photos. Show overlap areas, pin placement, and overall fabric positioning. These records help with warranty claims and future maintenance planning.
Conduct final inspection before covering with fill material. This is your last chance to catch and fix problems before they become expensive repairs. Don’t rush this critical step.
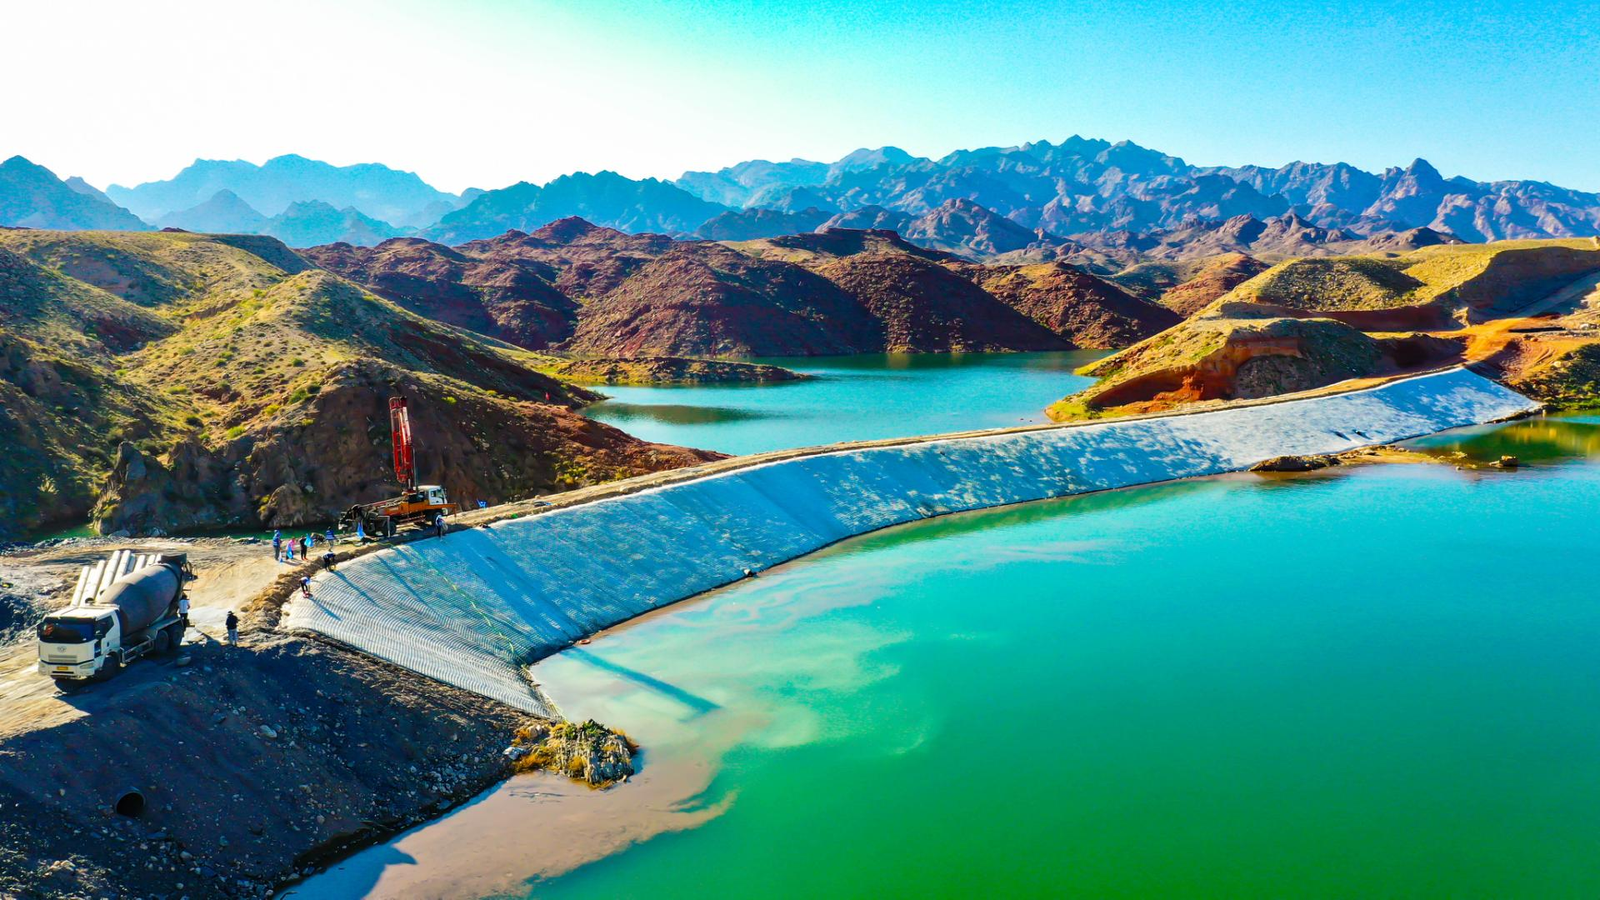
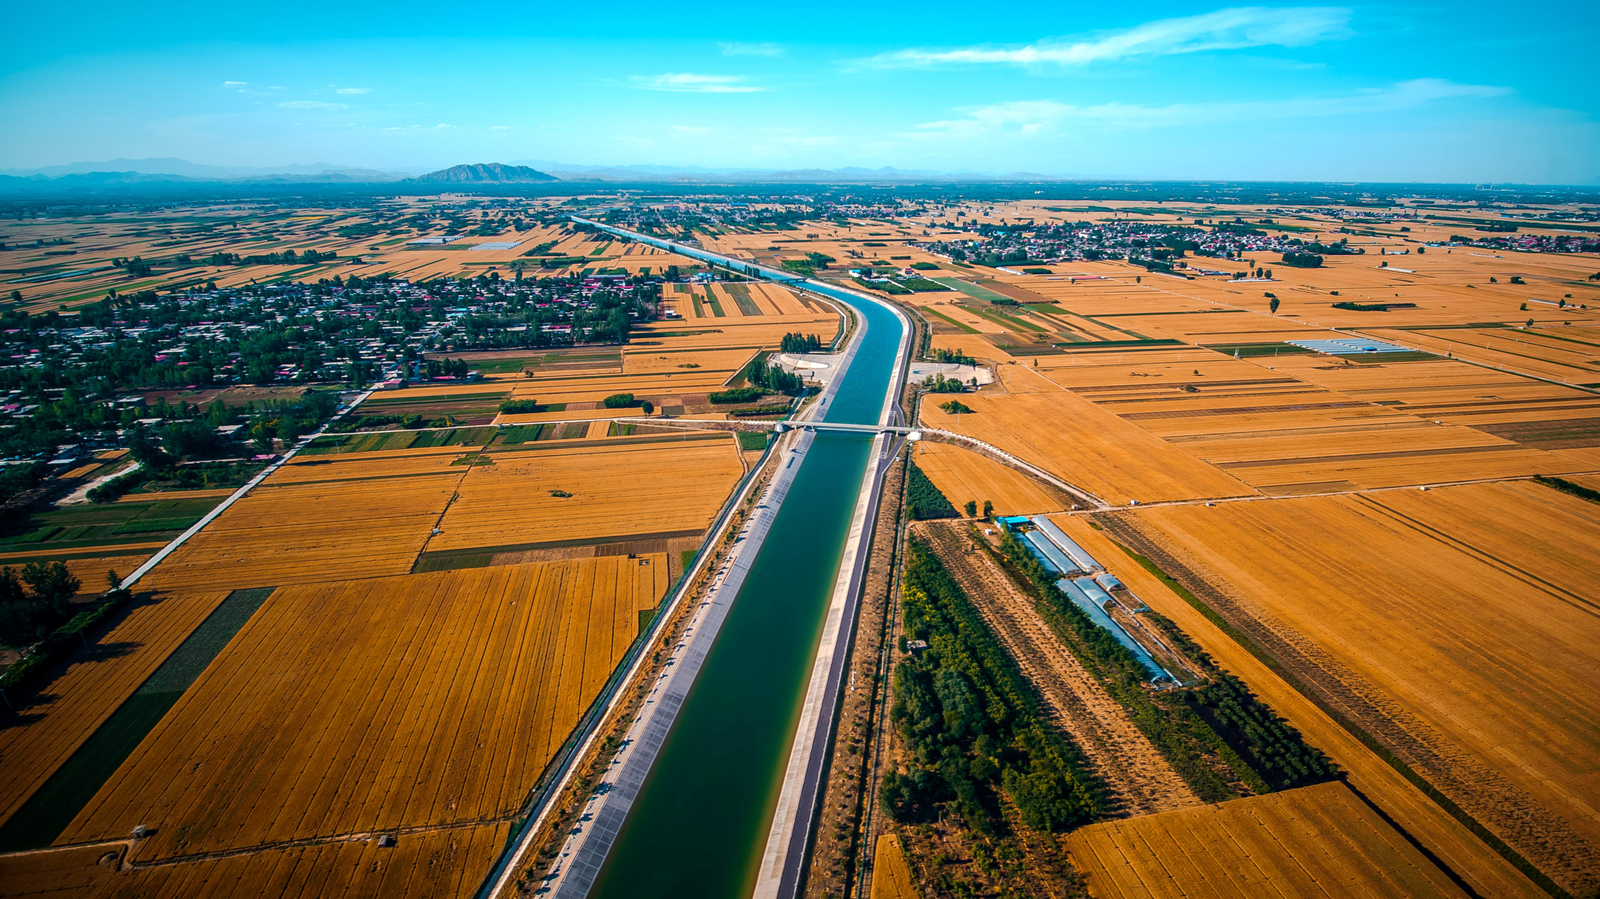
Proven Geotextile Mattress Projects for Water Infrastructure demonstrate quality control standards for professional installations.
Maintenance and Long-term Performance
Monitor geotextile performance regularly after installation. Look for signs of fabric movement, settlement, or damage. Early detection prevents small problems from becoming major failures.
Watch for edge lifting or fabric exposure. UV exposure degrades geotextile rapidly, so cover exposed areas immediately. Even short exposure periods can weaken fabric significantly.

Check drainage effectiveness after heavy rains. Pooling water or slow drainage indicates potential problems with fabric placement or surrounding materials. Address drainage issues quickly to prevent fabric damage.
Repair minor tears or damage immediately. Small repairs are simple and inexpensive, while major failures require complete replacement. Keep spare fabric and fasteners on hand for quick repairs.
Document performance over time. Note any changes in drainage patterns, settlement, or fabric condition. This information helps optimize future installations and identify potential warranty issues.
Plan for eventual replacement. Geotextile fabric has a finite lifespan depending on application and environmental conditions. Budget for replacement as part of long-term maintenance planning.
Expert Geotextile Mattress Solutions for Erosion Control can provide professional maintenance guidance and support.
Frequently Asked Questions
How long does geotextile fabric last?
Geotextile fabric typically lasts 20-50 years depending on application, environmental conditions, and fabric quality. UV exposure, chemical exposure, and mechanical stress affect lifespan significantly.
Can I install geotextile fabric myself?
Yes, most residential applications are suitable for DIY installation. However, large commercial projects or critical infrastructure applications require professional installation to ensure proper performance.
What happens if I don’t overlap fabric properly?
Insufficient overlap creates weak points that can separate under stress, leading to fabric failure and loss of function. Always follow manufacturer overlap specifications.
Do I need special tools for installation?
Basic hand tools are sufficient for most installations. You’ll need a utility knife, measuring tape, pins or stakes, and a hammer. Larger projects may benefit from pneumatic fastening tools.
Can geotextile fabric be repaired if damaged?
Minor tears can be repaired with patches and adhesive or by installing additional fabric over the damaged area. Major damage usually requires fabric replacement.
What’s the difference between woven and non-woven geotextile?
Woven geotextiles provide strength and reinforcement, while non-woven fabrics excel at filtration and drainage. Choose based on your primary application requirements.
How do I calculate how much fabric I need?
Measure your area and add 10% for waste and overlaps. Consider fabric width to minimize seams and optimize material usage.
Can geotextile fabric prevent all weeds?
Geotextile fabric significantly reduces weed growth but doesn’t prevent all weeds. Some aggressive weeds may penetrate or grow through seams over time.