Site Preparation for Geotextile Mattresses: Installation Steps
Key Takeaways:
- Clean Surface is Key: Remove all vegetation, roots, rocks, and debris. The ground needs to be totally clear.
- Smooth and Graded: The site must be graded to the specified slope and be smooth. No big bumps or dips allowed.
- Water Management: The area needs to be reasonably dry before and during installation. Manage any surface or groundwater.
- Anchoring: Proper anchor trenches are needed, especially on slopes, to hold the mattress secure.
- Final Check: Always do a final walk-through to ensure the site meets all the project requirements before laying down the geotextile mattress.
Initial Site Assessment: Know Your Ground
Alright, first things first when you’re lookin’ at putting down a geotextile mattress – ya gotta know what you’re dealin’ with. Walkin’ the site isn’t just for show; it’s probly the most important step before any dirt gets moved. What kind of soil are we talkin’ about? Is it sandy, clay, silty, or a mix? This matters alot because different soils behave differently, especially when wet, and affect how you grade and compact later. You gotta check the slope too. How steep is it? Are there sudden changes in grade? This tells you how tricky the job might be and what kind of anchoring you’ll need for the erosion control mattress. Take notes, maybe even some photos.
Then there’s existing stuff. Any plants, big rocks, old concrete, tree stumps? All that needs to go, but knowing its there helps plan the clearing work. Sometimes you find unexpected things buried just below the surface, so a few test pits can save hassle later. Also, think about water. Where does it come from? Where does it go? Is there groundwater seeping out? Water is often the enemy during installation, so identifying seeps or drainage paths early is crutial. You might need plans for temporary drains or sumps. Access is another thing – how are you gonna get equipment like excavators or rollers in and out? Are there overhead wires or tight spots? Planning the route avoids problems during the actual work. I remember one job up in the hills, looked simple on paper, but getting the kit up there was a nightmare ’cause the access track was way steeper than the drawings showed. Always pays to look with your own eyes, dont just trust the plans completely.

Lookin’ at the bigger picture helps too. What’s surrounding the site? Are there buildings, roads, or sensitive environmental areas nearby? You need to make sure your site prep work doesn’t negatively impact anything adjacent. Dust control, noise limits, sediment runoff – these are all things to consider based on the site’s location and surroundings. Getting a good handle on all these elements during the initial assessment means you can develop a solid plan. This plan should cover equipment needs, manpower, timelines, and potential challenges. It forms the basis for successful geotextile mattress uses, construction, benefits & installation. Don’t skimp on this step; better to spend an extra day walkin’ and checkin’ than weeks dealin’ with unforeseen issues. A proper assessment sets the stage for everything that follows.
Clearing and Grubbing: Getting a Clean Slate Tody
Once you’ve assessed the site, the next job is clearin’ it out. This ain’t just about pickin’ up litter; it’s called clearing and grubbing, and it means gettin’ rid of everything on the surface and just below it that shouldn’t be there. We’re talkin’ grass, weeds, bushes, trees, old roots, big rocks, construction debris – the lot. Why? Because the geotextile mattress needs to lie flat against the prepared soil (the subgrade). If there’s lumps, bumps, or sharp objects underneath, it won’t sit right. Worse, sharp rocks or leftover rebar could potentially puncture the mattress fabric over time, especially under load or during filling. You want a uniform, smooth surface for the geotextile mattress system to work its best.
The “grubbing” part is important – that means digging out the roots. Just cutting plants at ground level ain’t enough. Old roots will decay over time, leaving voids under the mattress. This can lead to settlement or soft spots, compromizing the stability the mattress is supposed to provide. You gotta dig ’em out, especially larger roots from trees or big shrubs. Use an excavator with a thumb attachment or root rake if needed. Same goes for rocks bigger than, say, your fist – get ’em out. Fill any holes left from removing roots or rocks with suitable compacted soil. Think of it like preparing a canvas; you want it clean and smooth before you start the real artwork, which in our case is layin’ the mattress.
What you do with the cleared material matters too. Topsoil might be stockpiled separately if it’s good quality and can be reused later, maybe for the fill material or for landscaping around the finished work. Vegetation, stumps, and rubbish need disposing of properly, followin’ local regulations. Don’t just push it all into a corner of the site – get it removed. The cleaner the site, the smoother the next steps will go. We once had a site where the crew didn’t grub properly, left a load of old bramble roots in. Few years later, we saw sinkholes appearing over the mattress where the roots had rotted away. It cost a fair bit to fix, all ’cause the initial clearing wasn’t done thorough enough. Proper clearing and grubbing is fundamental for the longevity and advantages and applications of geotextile mattresses.
Grading and Shaping the Subgrade Correctly
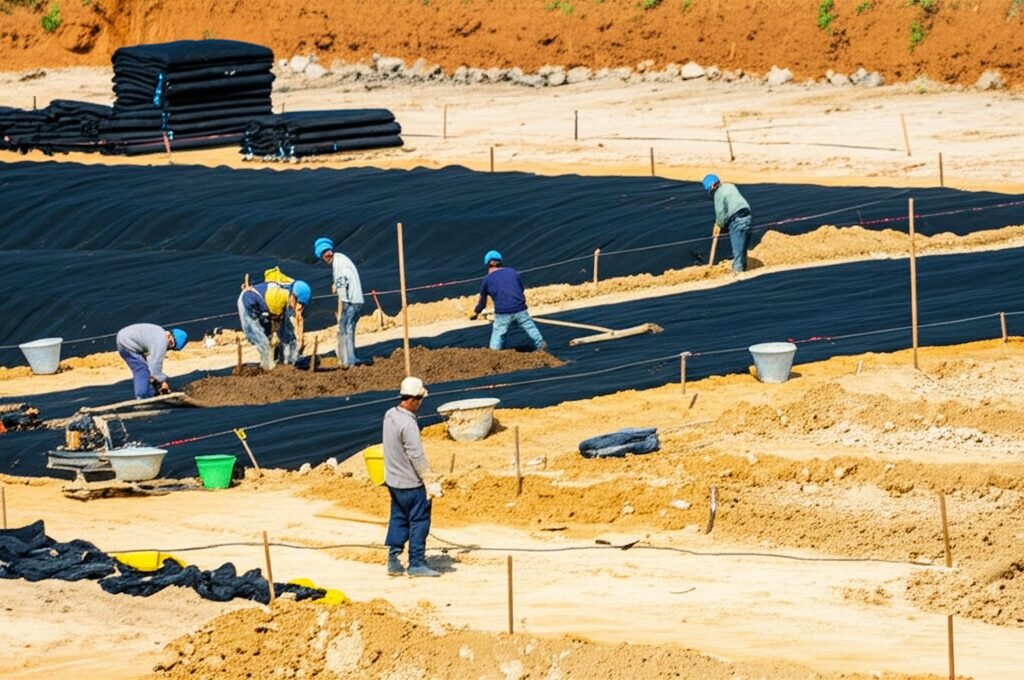
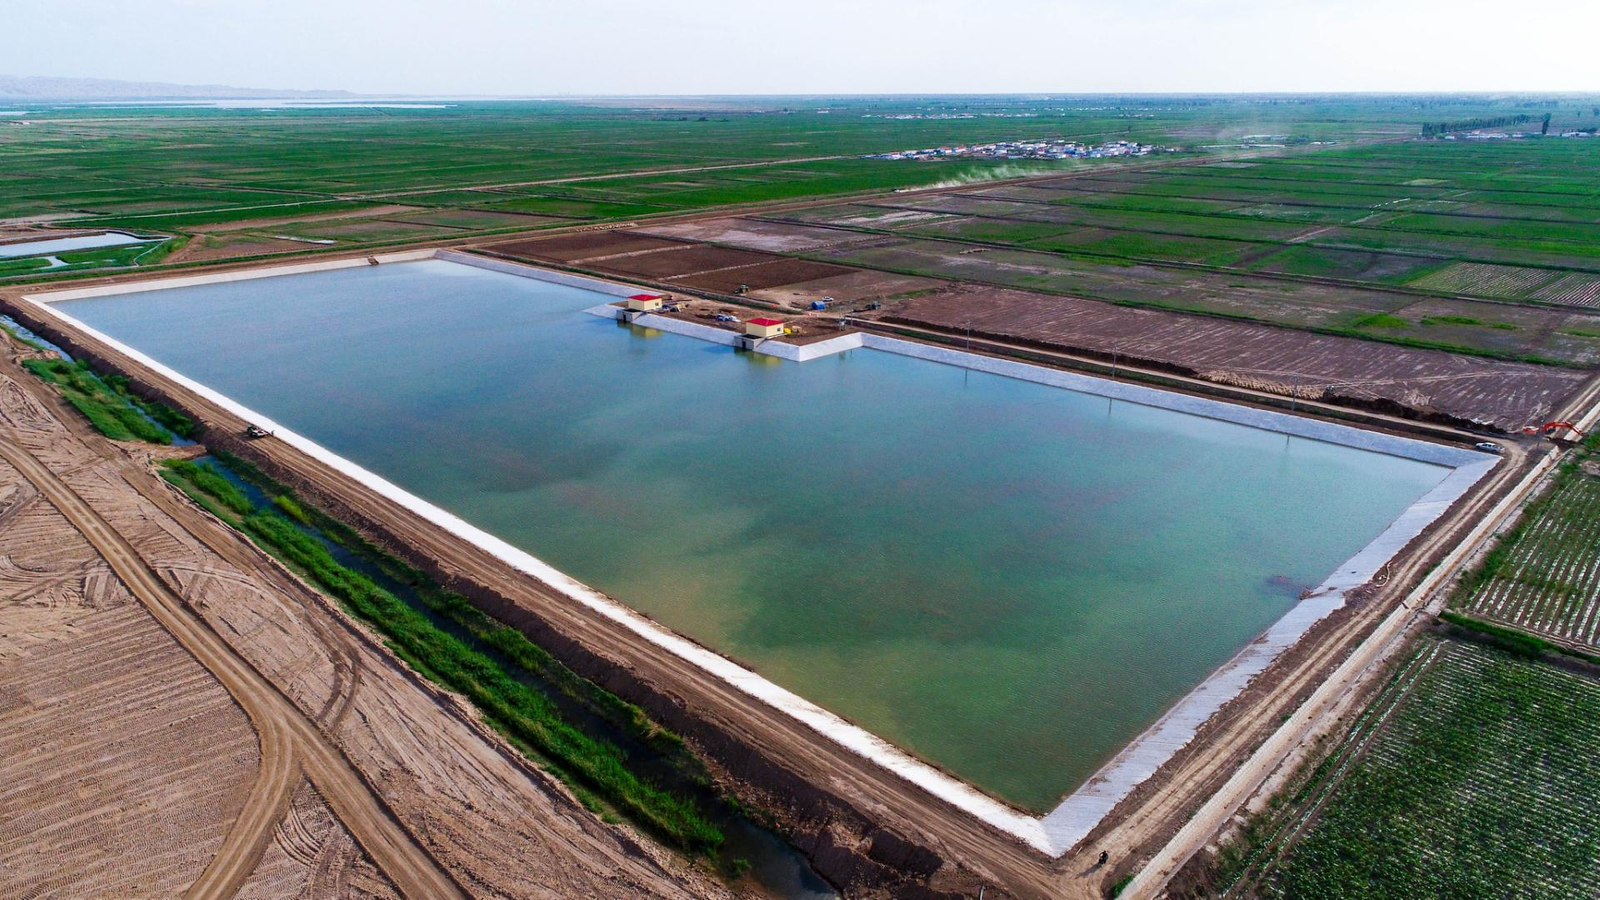
After clearing, it’s time for grading. This means shaping the soil underneath – the subgrade – to the exact lines, levels, and slopes shown on the project plans. This step is absolutely critical. The geotextile mattress will conform to the shape you give it, so if the subgrade isn’t right, the mattress won’t be either. You need a surface thats smooth, uniform, and free from sudden dips or bumps. Think about water flow; the grading directs water over or away from the mattress as intended by the design. If you have low spots, water can pond, potentially saturating the subgrade and weakening it, or affecting the fill material inside the mattress later on. We often use excavators for bulk shaping and then maybe a grader or compact tractor with a blade for the fine-tuning. Hand work with rakes might be needed in tight corners or for final smoothing touchs.
Smoothness is key. Any abrupt changes in slope or isolated high/low spots can create stress points on the mattress fabric or interfere with the filling process. Generally, the surface should be smooth enough that the mattress can lie intimately against it without significant bridging or voids. Specifications often state a tolerance, like no high or low spots exceeding maybe 25-50mm (1-2 inches) over a 3-meter (10-foot) straightedge. Compaction is usually required too, especially if you’ve added fill material to bring areas up to grade or filled holes from grubbing. Compacting the subgrade ensures it’s stable and won’t settle unevenly after the mattress is installed. The level of compaction needed depends on the soil type and the project requirements, often specified as a percentage of maximum dry density (e.g., 95% Standard Proctor). Use appropriate equipment like vibratory plate compactors or rollers to achieve this. Failure to compact properly is a common mistake I see; it can lead to frustrating installation issues and long-term performance problems for various geotextile applications.
Make sure the final grade matches the design drawings exact. Use survey equipment (levels, lasers, GPS rovers) to check elevations and slopes frequently during the grading process. Don’t just eyeball it, especially on slopes designed for specific hydraulic performance or stability. Even small deviations from the design grade can affect how the mattress performs its function, whether it’s erosion control, channel lining, or foundation support. Getting the subgrade perfect might take a bit more time, but its essential groundwork for a successful installation and ensures the specialized geotextile protection works as designed.
Dealing with Water: Dewatering and Drainage Tricks
Water management during site prep is often a big headache, but you gotta deal with it. You generally can’t prepare the ground or install a geotextile mattress properly if the site’s soaking wet or has water flowing across it. Water makes soil difficult to grade and compact, turns the site into a muddy mess hampering access, and can interfere with placing and filling the mattress units. So, figuring out how to keep the work area reasonably dry is a must. First step, as mentioned in the assessment, is identifying where the water’s coming from – rain, surface runoff from elsewhere, high groundwater table, seeps in a slope? Knowing the source helps choose the best way to manage it.
For surface water, simple diversion ditches or berms dug uphill of the work area can often intercept runoff and channel it away harmlessly. Make sure these temporary drains have enough capacity and discharge somewhere they won’t cause other problems, like erosion downstream or flooding neighbours. Check them regularly, especially after rain, to make sure they’re not blocked or overflowing. If you’re working in an excavation or low area where groundwater is seeping in, you’ll likely need pumps. Sump pumps placed in pits dug at low points are common. The size and number of pumps depend on how much water you need to remove. Sometimes, more complex dewatering systems might be needed, like wellpoints, especially in sandy soils with high water tables, but that’s usually for bigger jobs. The goal is just to lower the water level enough to allow the subgrade preparation and mattress installation to happen in reasonably dry conditions. Remember these are often temporary measures just for the construction phase.
Even if the site seems dry, sudden rain can ruin your carefully prepared subgrade. Having some plastic sheeting handy to cover graded areas if bad weather threatens can be a lifesaver. Also, make sure any stockpiled soil (topsoil or fill material) is located where it won’t wash away or turn into mud soup. Keeping the site tidy helps too; equipment tracks can create ruts that collect water. Plan your work sequence. Try to get the grading and mattress installation done quickly in sections, especially if you’re expecting iffy weather. Managing water effectively is crucial, particularly when installing systems designed specifically for water interaction, like filtration geotextile mattress systems. A wet, unstable subgrade compromises the whole point of the installation. Its always better to be prepared for water than caught out by it.
Anchor Trenches and Edge Details: Locking It Down
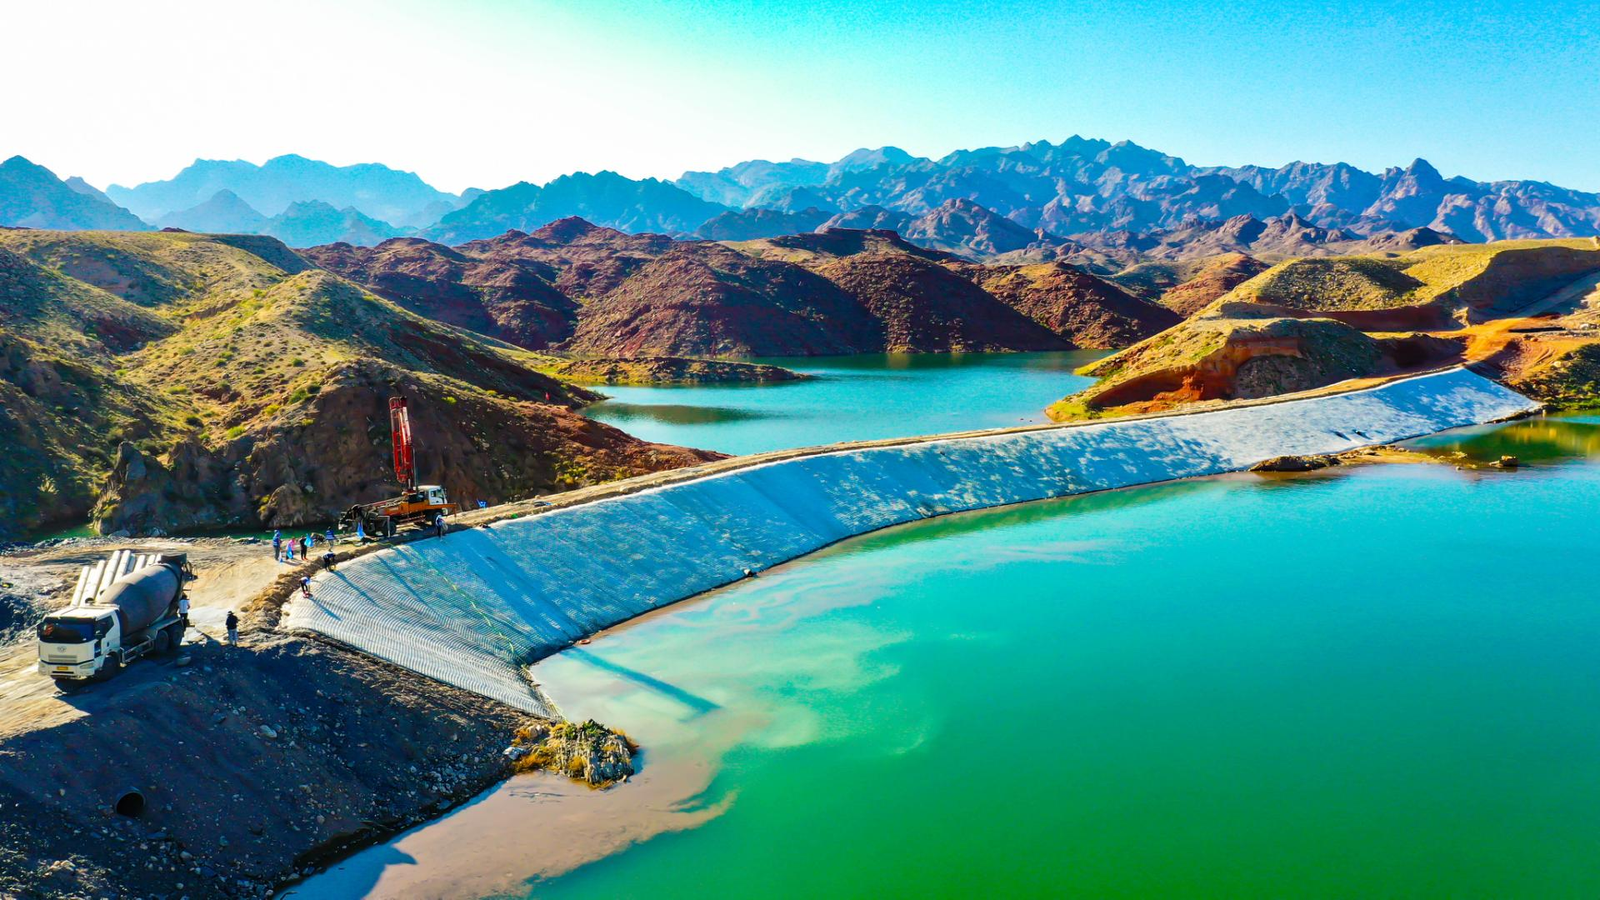
Okay, so you’ve got a nice clean, smooth, graded surface. Now, how do you make sure the geotextile mattress stays put, especially on slopes or at the edges of channels? That’s where anchor trenches come in. These are basically ditches dug into the subgrade, usually at the top of the slope (crest), the bottom (toe), and sometimes along the sides or around structures. The edges of the geotextile mattress are laid down into these trenches, and then the trench is backfilled with compacted soil or sometimes concrete. This ‘locks’ the ends of the mattress in place, preventing it from slipping down the slope due to gravity or being undermined by water flow at the toe. Without proper anchoring, the whole installation could fail.
The size and shape of the anchor trench depend on the specific project design, the steepness of the slope, soil conditions, and the type of mattress being used. A typical crest anchor trench might be maybe 300-600mm (1-2 feet) deep and wide, located a short distance back from the top edge of the slope. Toe trenches serve a similar purpose at the bottom, preventing undermining. The exact dimensions and backfill requirements should always be followed from the engineer’s drawings or manufacturer’s recommendations like those in an Installation Manual for Reno Mattresses. Digging these trenches is usually done after the main grading is complete but before the mattress is unrolled. Use an excavator with a narrow bucket or even hand tools for smaller trenches or tricky spots. Make sure the trench walls are reasonably stable and the bottom is clean before laying the mattress edge into it.
Backfilling the trench is just as important as digging it. The fill material, usually compacted soil, needs to be placed carefully over the mattress edge in the trench and compacted properly in layers (lifts). This ensures a tight grip on the fabric. Poor compaction in the anchor trench is a weak point. Sometimes, particularly for critical structures or high-flow channels, the design might specify concrete backfill for extra security. Edge details around pipes, walls, or other structures also need care. You might need to trim the mattress neatly and secure it mechanically or embed it in a smaller anchor trench around the structure to prevent water getting underneath. Proper anchoring is fundamental to the success of many proven geotextile mattress projects, especially those involving slope stability like vegetation geotextile mattress systems. Dont cut corners on the trenches; they’re the safety belts for your mattress installation.
Geotextile Underlayment (If Needed): An Extra Layer
Sometimes, depending on the soil you’re working with and the specific type of mattress system, you might need to install a separate layer of geotextile fabric before you lay down the main geotextile mattress. This is often called an underlayment or a filter fabric. Why would you need this extra layer? It mainly comes down to soil particle size and water flow. If you have very fine soils, like silts or fine sands, there’s a risk that these small particles could be washed out from underneath the mattress by moving water (either groundwater seeping up or water flowing through the mattress fill). Over time, this ‘piping’ can lead to settlement or undermining of the structure. The underlayment acts as a filter, letting water pass through but holding back the fine soil particles.
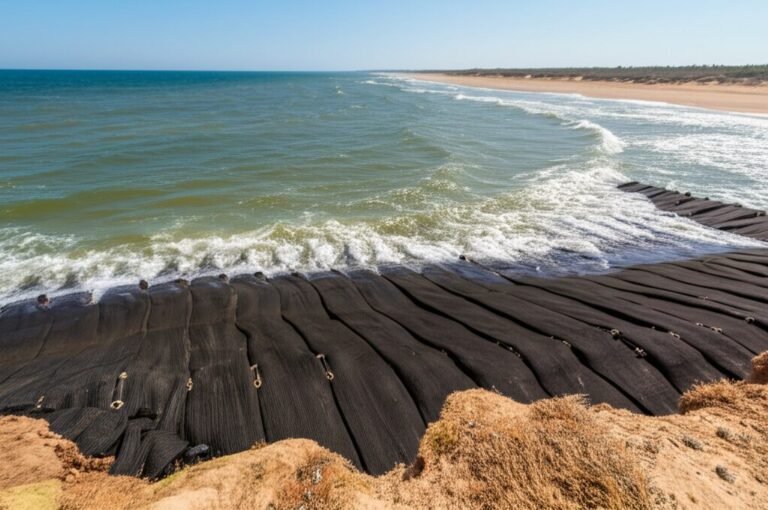
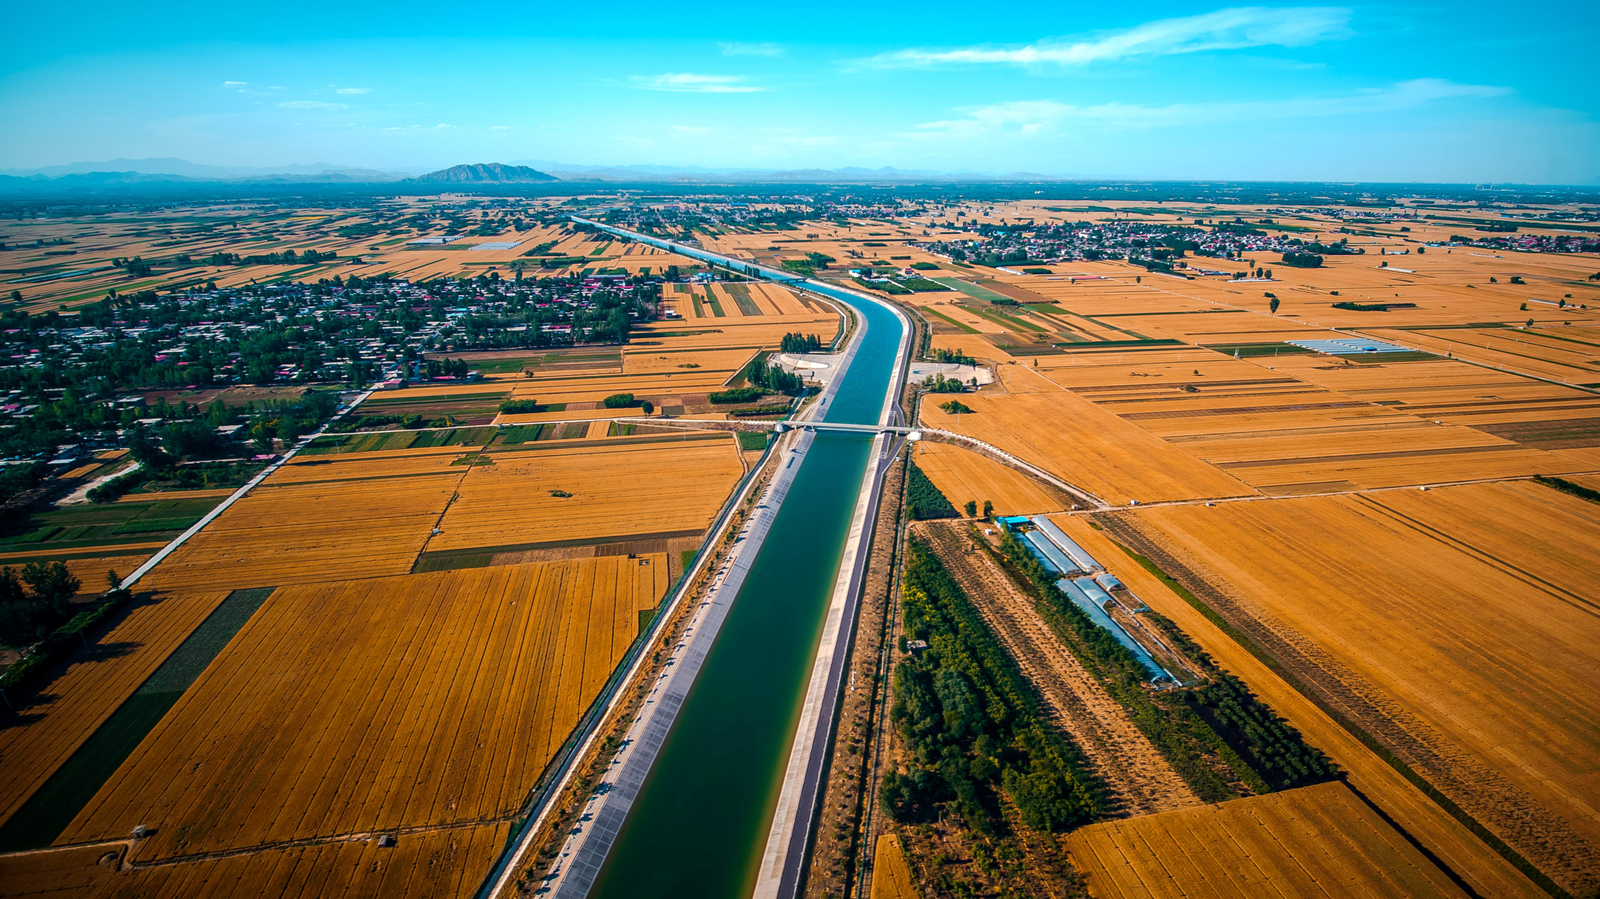
This is particularly important in applications where there’s significant water flow expected, such as channel linings, bridge abutment protection, or below the water line on coastal structures. It’s also commonly used when the mattress itself is filled with coarse material like gravel or stone, creating a large difference in particle size between the fill and the subgrade soil. The underlayment fabric needs to be chosen carefully based on the subgrade soil properties and the hydraulic conditions – it needs the right ‘pore size’ (Apparent Opening Size or AOS) to retain the soil while having enough ‘flow rate’ (permeability) to let water through without building up pressure. This is a key consideration in designing advances in filtration geotextile mattress systems. Reputable manufacturers and suppliers, like those represented by experts such as Li Gang, can provide guidance on selecting the appropriate filter fabric.
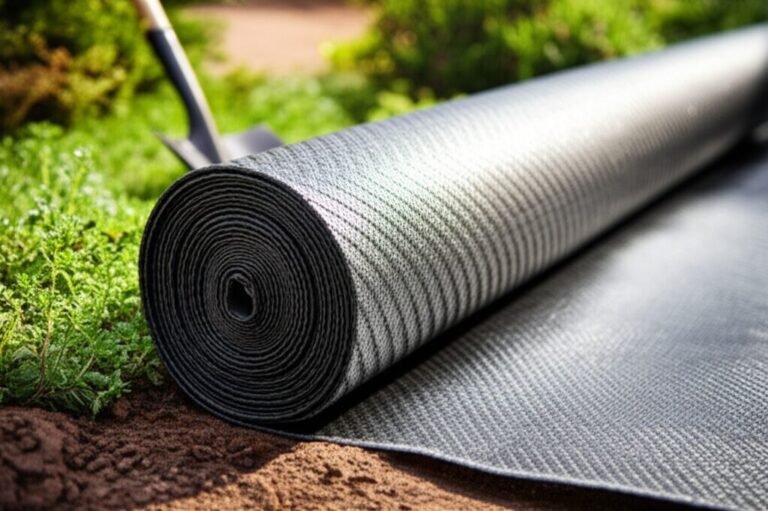
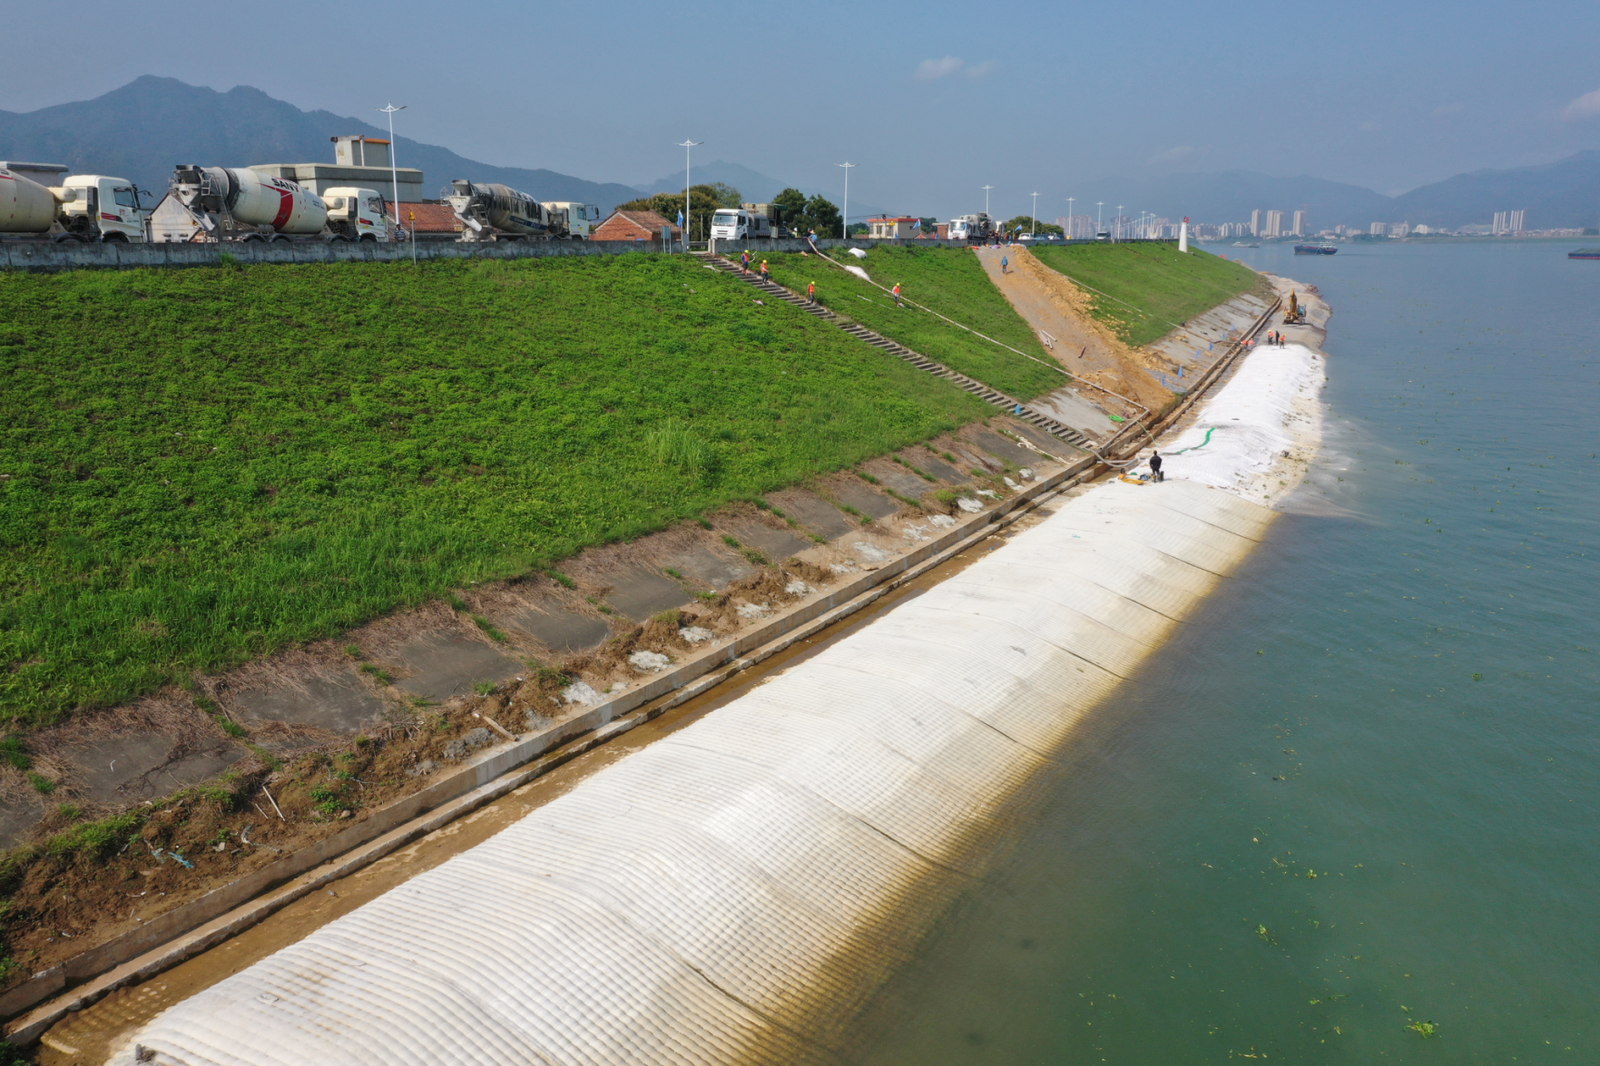
Installing the underlayment is usually straightforward, but needs care. It’s laid directly onto the prepared, smooth subgrade before the mattress. Rolls are typically laid out starting from the downstream end or bottom of a slope, working upwards, with overlaps between adjacent sheets as specified (often around 300-500mm or 12-18 inches). The overlaps are crucial to ensure continuity of the filter function; gaps would defeat the purpose. Secure the fabric temporarily with pins or staples to prevent movement during mattress placement, especially on slopes or windy days. Anchor the upslope end securely in the crest anchor trench, just like the mattress itself will be. Avoid driving heavy equipment directly on the underlayment if possible, as sharp turns or spinning tracks could damage it. Adding this extra layer might seem like more work, but in fine-grained soils or high-flow situations, it’s essential insurance against potential washout problems, similar to the principles outlined in guides like the Step-by-Step Geotextile Installation Guide.
Final Inspection and Readiness Check: Last Look
Right then, almost there. Before you give the go-ahead to start unrolling and placing the actual geotextile mattress, you need one last, thorough check of the prepared site. This final inspection is your last chance to catch any issues with the subgrade preparation. Skipping this can lead to real headaches during installation or compromise the final quality. Walk the entire area that’s been prepared. Is it really smooth? Run your hand over it in places, look for any sharp rocks, roots, or debris that got missed during clearing or somehow reappeared. Check the grade again, especially at critical points like slope transitions, crests, and toes. Does it match the design plans and stakes? Use a level or string line if necessary. Small errors here can magnify later.

Look closely at the anchor trenches. Are they dug to the correct dimensions and in the right locations? Are they clean and ready to receive the mattress edge? If an underlayment fabric has been placed, check its overlaps and make sure it’s lying smoothly without excessive wrinkles and is securely pinned. Think about the conditions too. Is the subgrade too wet? If recent rain has made it soft or muddy, you might need to wait for it to dry out or do some remedial work before proceeding. Attempting to install on saturated ground is asking for trouble; equipment can get bogged down, and the soil won’t provide firm support. Conversely, if it’s extremely dry and dusty, a very light sprinkle of water might be needed to control dust and help with initial mattress conformity, but don’t overdo it.
This final check is also about logistics. Is the access route clear? Is the laydown area for the mattress rolls ready? Does the installation crew understand the plan and sequence? Having everything confirmed before the mattress delivery truck arrives saves time and prevents confusion. Treat this inspection seriously. Document it, maybe with photos and a checklist signed off by the site supervisor or engineer. It confirms that the crucial groundwork, the foundation for the entire geotextile mattress installation, has been done properly. Catching a problem now is far easier and cheaper than fixing it after the mattress is down and partially filled. For complex projects, getting expert advice or a review from specialists offering expert geotextile mattress solutions can be invaluable at this stage.
Ensuring Longevity: Post-Installation Considerations
Okay, the mattress is down, filled, and lookin’ good. Job done? Not quite. Proper site prep is mostly about what happens before installation, but how you finish up and manage the site imediately after also impacts the long-term success, especially for things like vegetation establishment. First off, be careful with equipment movement around the newly installed mattress. Avoid driving heavy machinery directly on it unless absolutely necessary and specified as acceptable (some mattress types are designed for traffic, others definitely aren’t). If you need access across it, use bog mats or establish designated crossing points to spread the load. Sharp turns or sudden braking can damage the surface or the fill ports.

Check the surrounding areas. Make sure any temporary diversion ditches are either removed or properly integrated into the final drainage plan. Don’t leave temporary berms in place if they could obstruct permanent drainage paths. Regrade any areas disturbed by construction traffic outside the main mattress footprint. If topsoil was stockpiled, now might be the time to spread it on adjacent areas for landscaping or seeding. Clean up any leftover materials, debris, or waste from the site – good housekeeping reflects well on the job and prevents future problems. The transition zones, where the mattress meets the surrounding ground or other structures, are particularly important. Ensure these are smoothly graded and stable, without abrupt edges that could concentrate erosion. Sometimes a bit of extra protection, like turf reinforcement matting or small rip-rap (similar principles in Installation Instructions for Rip Rap might apply), can help blend the edges.
For mattresses designed to vegetate, the initial care is crucial. This might involve hydroseeding, placing erosion control blankets over the topsoil fill, or initial irrigation depending on the climate and season. Protect the area from excessive foot traffic or grazing animals until the vegetation is well established. Monitor the site, especially after the first few significant rain events. Look for any signs of erosion at the edges, settlement, or problems with drainage. Catching minor issues early is much easier than dealing with major repairs later. Proper site preparation lays the foundation, but careful finishing and early monitoring help ensure the geotextile mattress delivers its intended benefits for years to come. Its about seeing the project through right to the very end.

Frequently Asked Questions (FAQs)
Q1: How smooth does the ground really need to be before installing a geotextile mattress?
A1: Pretty smooth! Generally, you don’t want any bumps or dips bigger than about 1-2 inches (25-50mm) over a 10-foot (3m) span. Sharp rocks, roots, or debris must be removed as they could damage the fabric. The mattress needs to lie flat against the soil.
Q2: Can I install a geotextile mattress on wet ground?
A2: It’s really not recommended. Wet, muddy ground is difficult to grade properly, won’t compact well, and makes installation hard work. You should try to dewater the site using ditches or pumps so the subgrade is firm and reasonably dry before you start.
Q3: What happens if I don’t dig anchor trenches?
A3: Big problems, especially on slopes! Anchor trenches lock the top and bottom edges of the mattress in place. Without them, the mattress could slide downhill due to gravity or get lifted/undermined by water flow at the toe. It’s a critical step for stability.
Q4: Do I always need a separate geotextile filter fabric underneath the mattress?
A4: Not always, but often recommended if you have fine soils (like silts or fine sands) and expect water flow. This underlayment acts as a filter to stop the fine soil washing away from under the mattress. Check the project specs or consult an expert.
Q5: How long does site preparation usually take?
A5: It varies hugely depending on the site size, conditions (how much clearing or grading is needed), weather, and equipment available. It could be a day for a small, simple site, or weeks for a large, complex project with difficult access or lots of earthworks. Proper planning during the assessment helps estimate this better.